Setup RabbitMQ for Microservices with .NET Core

This tutorial focus on how to setup a RabbitMQ environment for Microservices with .NET Core. It also goes through basic commands and functionalities in RabbitMQ which are needed while being used in a Microservices project.
RabbitMQ: RabbitMQ is a messaging broker - an intermediary for messaging. It gives the application a common platform to send/receive messages safely. This is an open source message broker software which supports major operating systems and available in both free and varied licensing modes.

RabbitMQ in Microservices:
In Microservices architecture, there are two ways of communication possible between the microservices - Synchronous and Asynchronous.
Synchronous - here each service calls the other microservice directly and this results in dependency between the services
Asynchronous - there would be some central hub (or a message queue) where all the requests between the microservices are placed and the corresponding service takes the request, process it and return the result to the caller. This is what RabbitMQ (MSMQ and Apache Kafka are other available alternatives of message queues) is used for. In this case all microservices know only about the existence of the hub, avoiding the dependency between the services.
To create a Microservices solution with RabbitMQ, RabbitMQ needs to be installed, setup and also tested by sending some sample messages to the queues. Here are the steps involved in doing this.
Installation of RabbitMQ
Download RabbitMQ from their website here. RabbitMQ requires Erlang/OTP to be installed, hence download and install Erlang/OTP first from here. Then install RabbitMQ from the installable that you have downloaded.
Setup the RabbitMQ service
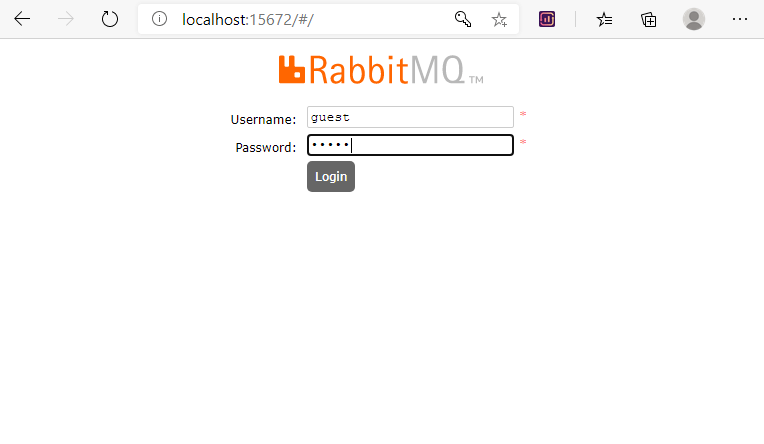
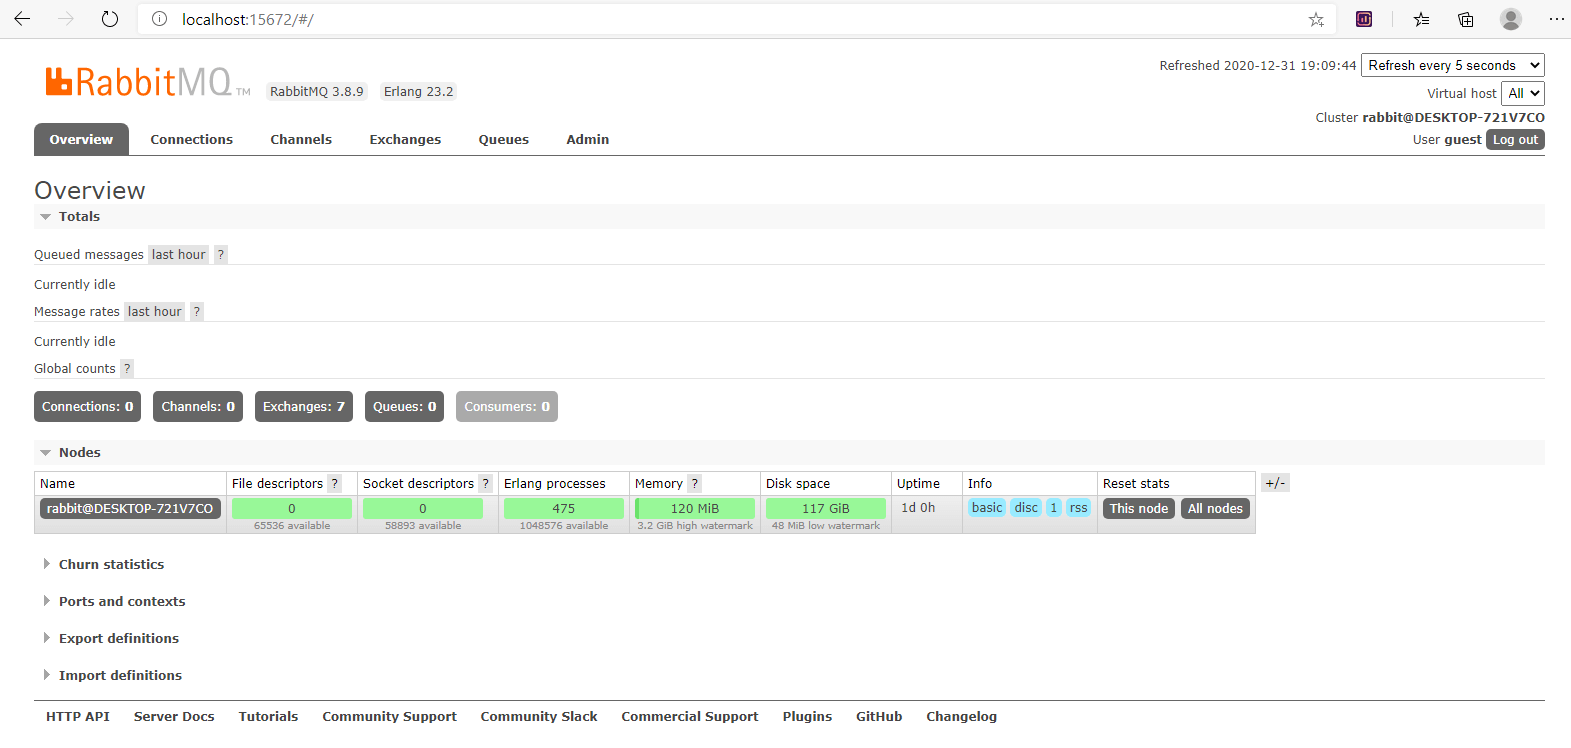
By default the RabbitMQ would be installed on the port 15672. Hence the RabbitMQ administrator can be browsed with the link - http://localhost:15672/. If you try browsing this link, it may not be reachable as the service is not yet started.
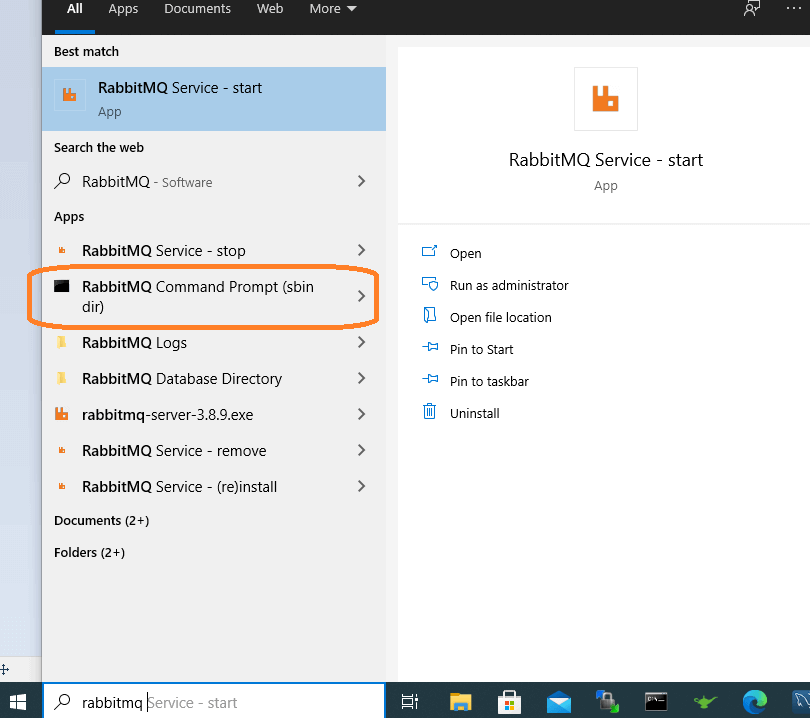
Run the RabbitMQ command prompt from the start menu. This will open the command prompt. Run the following command to enable and start the RabbitMQ service.
rabbitmq-plugins enable rabbitmq_management
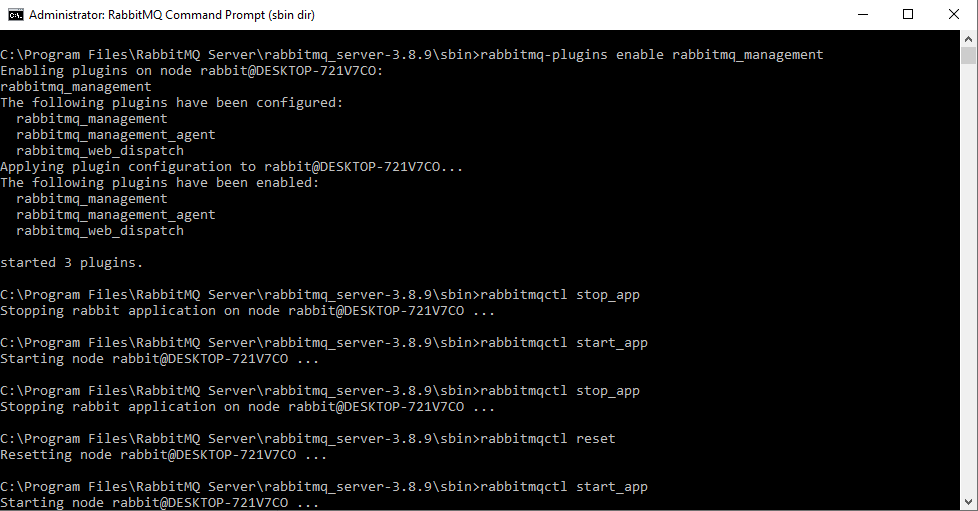
This will enable the service and the link - http://localhost:15672/ would be available now.
There are many powerful commands to stop/start/reset or any other operations on the RabbitMQ service. Here are some basic commands
- To stop the service:
rabbitmqctl stop_app - To start the service:
rabbitmqctl start_app - To reset the service/queue:
rabbitmqctl reset - To add a new user 'test' with password 'test':
rabbitmqctl add_user test test - To set the user tags as administrator:
rabbitmqctl set_user_tags test administrator - To set full permissions for the user 'test':
rabbitmqctl set_permissions -p / test ".*" ".*" ".*"
By default a guest user (password: guest) will be available to login to the administrator console.
Validate the setup using .NET Core
Validating the setup is nothing but sending/reading messages to/from the queue using .NET Core code.
Here is a small solution which would send messages to the queue and then reads the messages from the queue to make sure both the operations are working fine.
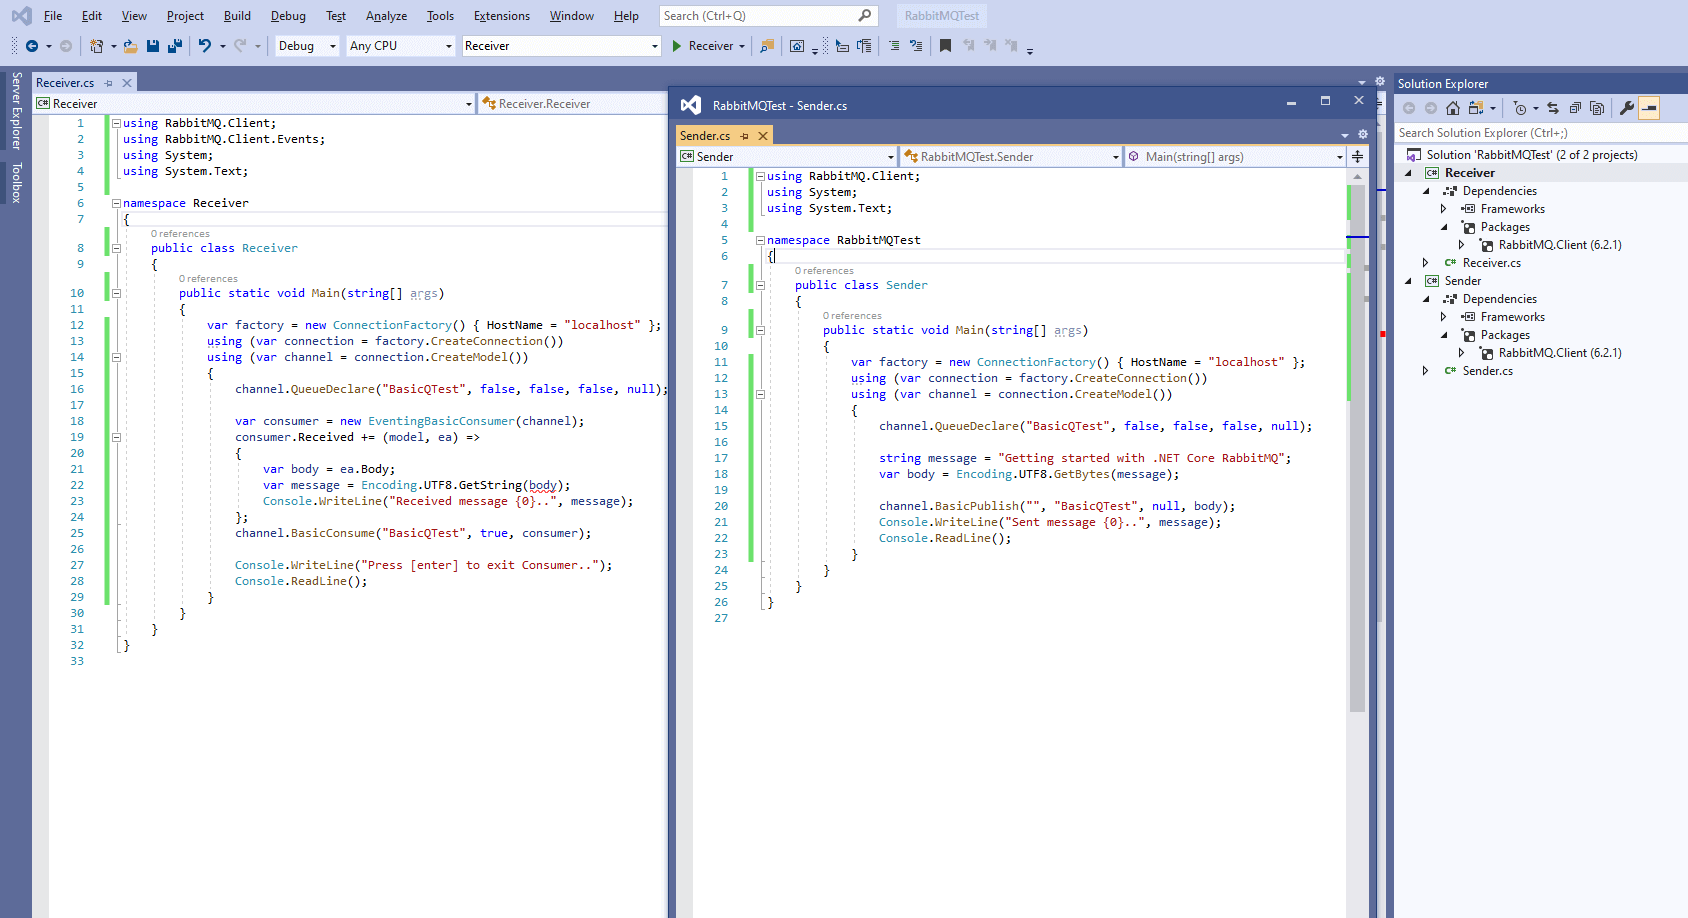
Both the projects in the solution are .NET Core console apps with a nuget package RabbitMQ.Client added.
The Sender app/project will add messages to the queue and the Receiver app will consume them from the queue.
Building Microservices in .NET Core
Once you were able to setup the RabbitMQ, the next think you would like to do is to develop Microservices in .NET Core or .NET 5. Here are some of the best online courses available on Microservices using .NET Core or .NET 5. Here is our complete list - Best .NET Core Microservices course online
Hope this helps you!! Please do share if you like :)
Pranay
A Software Engineer by profession, a part time blogger and an enthusiast programmer. You can find more about me here.


